
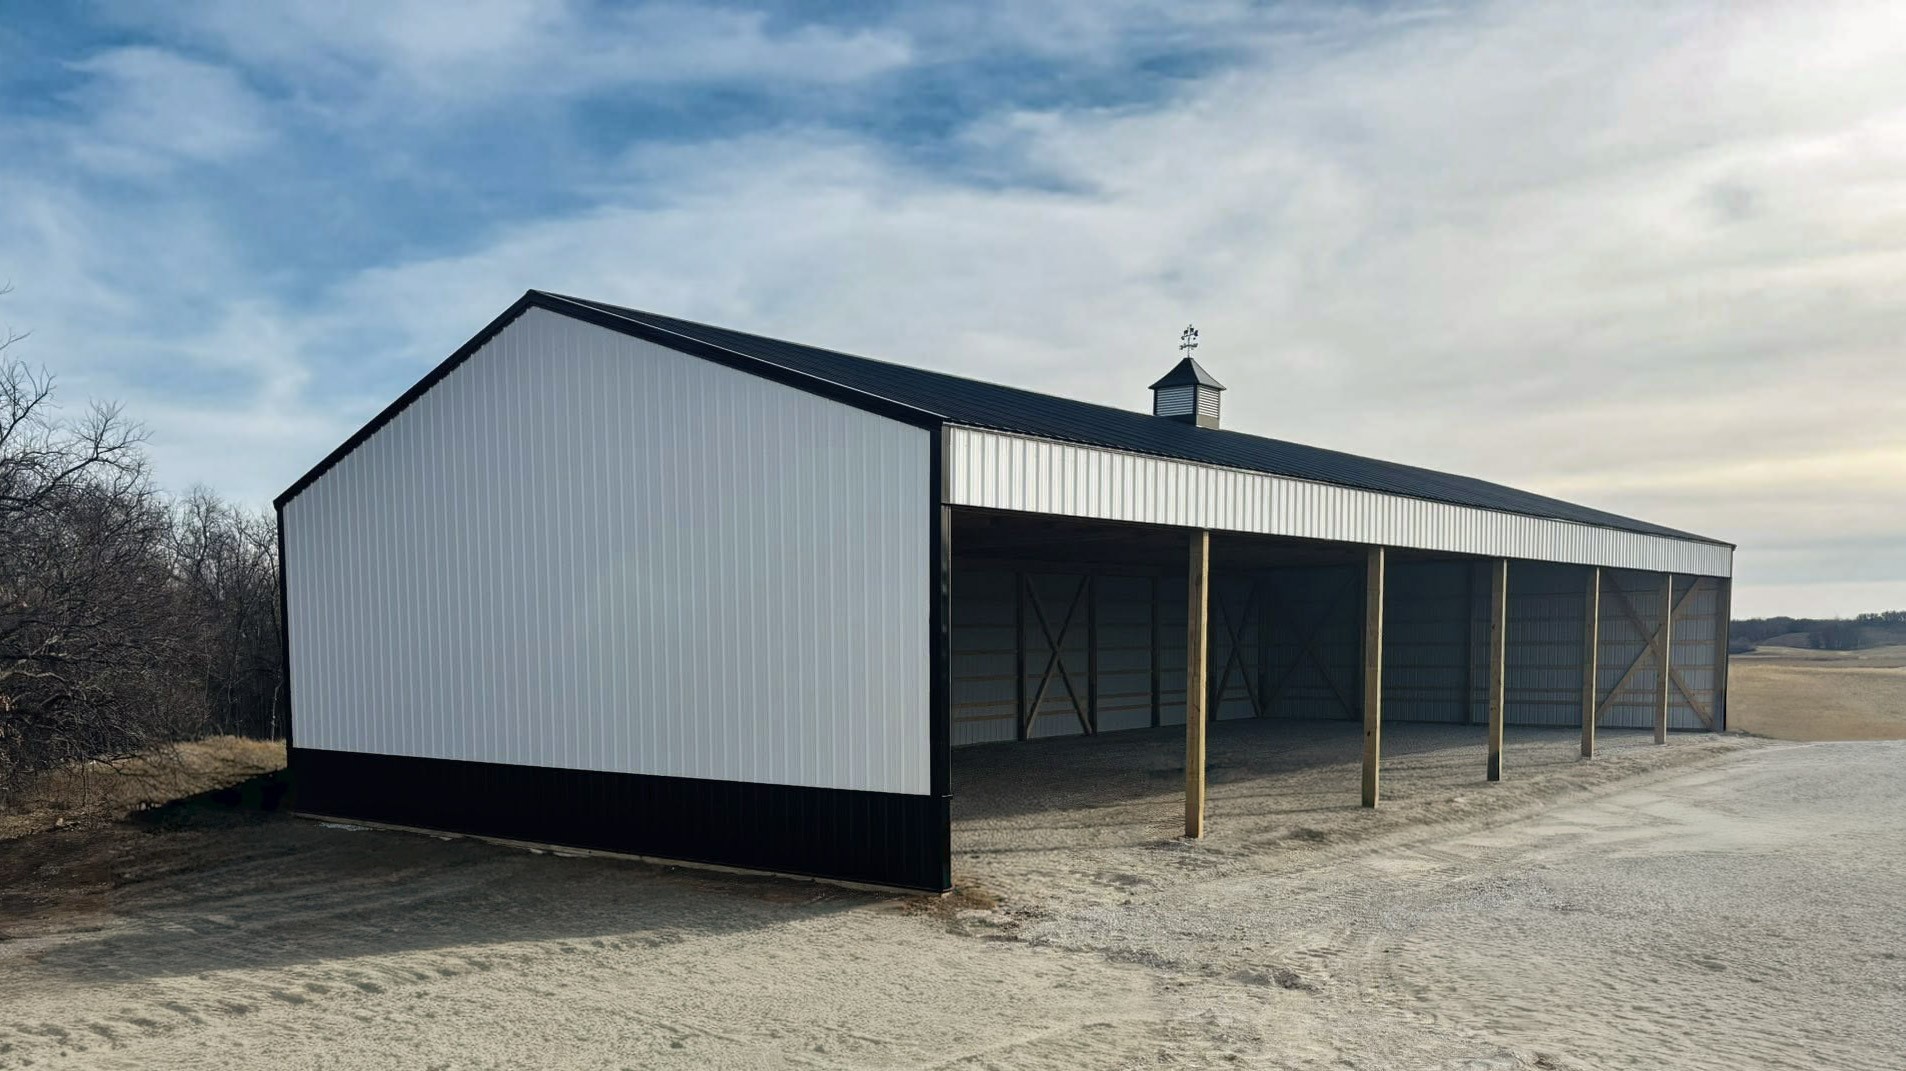
Read Time: 11 min
August in Missouri marks the final stretch before harvest, and for farmers across Cedar County and Southwest Missouri, getting a new equipment shed or hay barn framed, roofed, and closed in before the combines roll is the priority. Ag pole barn construction in Missouri moves fast once posts go in the ground, but a solid, harvest-ready building still depends on the right site work, the right building specs, and a crew that can actually hit a hard deadline.
This guide covers how Rohlin sequences post-frame construction from posts to a closed-in shell, what site prep has to happen first, and how to plan your timeline so the building is ready before harvest — not during it.
Building a harvest-ready ag pole barn in Missouri means locking in your construction timeline early, sizing the building around your actual equipment, and getting site work done before framing starts.
Key Takeaways:
Harvest deadlines don’t move. When grain matures, or late-summer weather turns wet, having a finished building on your property is what keeps expensive equipment and stored crops protected. In Cedar County communities like Stockton, Jerico Springs, and El Dorado Springs, a new post-frame agricultural building only helps your operation if it’s actually finished in time.
Getting there starts with the schedule. Site work, material orders, and construction all need to line up months in advance, not weeks, so posts go in while the weather cooperates and the shell closes in before fall rains.
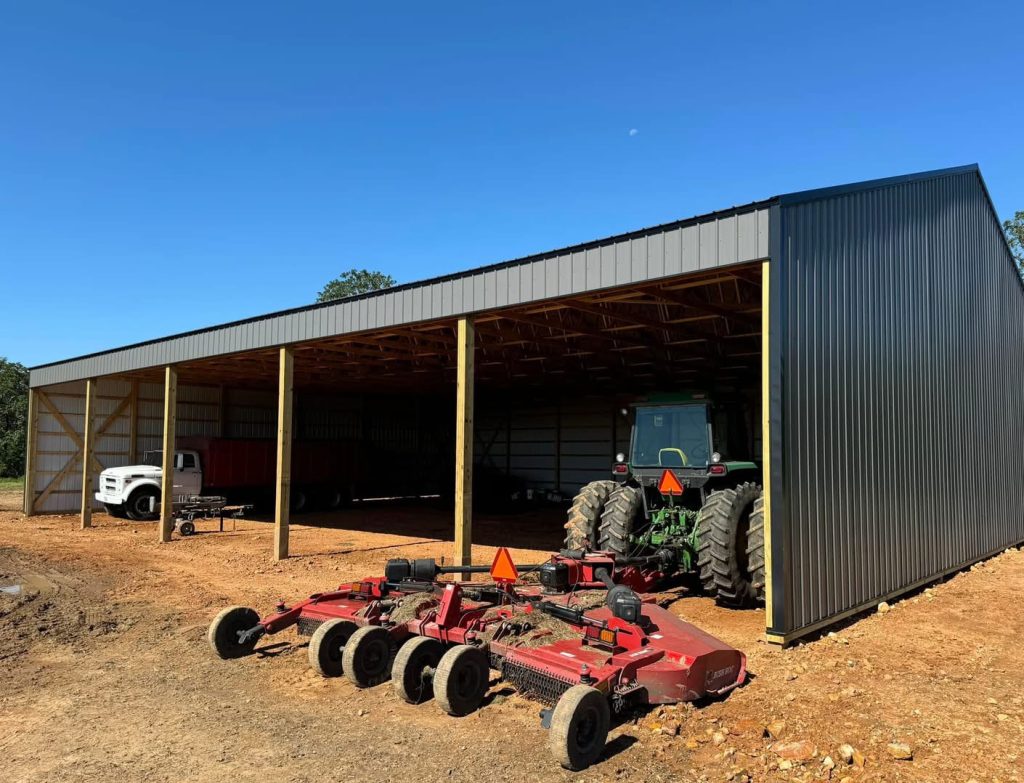
Post-frame construction moves in a specific order, and that sequence is what makes a harvest deadline realistic instead of a guess. Plan on roughly 2 to 4 months from post setting to a finished, closed-in shell, depending on size, weather, and permitting.
Everything starts with the columns. On a typical Rohlin equipment building, load-bearing posts are 3-ply laminated columns set on 10-foot centers, either embedded with polymer post protectors or set on perma-columns for added rot resistance. Once posts are set and braced, wood trusses, commonly spaced 5 feet on center, go up to form the roof structure, followed by the girts and purlins that tie the frame together and give the metal panels something to fasten to.
Once the frame is square and braced, the building gets dried in with 29-gauge painted G-Rib metal roofing and matching wall panels — materials built to hold up to Missouri hail, wind, and winter ice. This is also the stage where door openings, ventilation, and any lean-tos get framed in before the exterior closes up.
A building that looks big enough on paper can still be too tight in practice. For example, one of our recent equipment cover packages is a 4,000-square-foot, six-bay building with 14-foot eave height and 16-foot-8-inch bays — enough clearance for a combine with the header attached and room to maneuver a grain cart without clipping a post. As a rule of thumb, plan for at least 14 feet of eave clearance and 50 to 70 feet of open turning radius in front of the building for full-size harvest equipment.
Framing can only go as fast as the ground underneath it is ready. Site prep isn’t the main event, but skipping or rushing it is the fastest way to turn a 3-month build into a 5-month one.
Position the building on natural high ground with a gentle 1% to 3% slope so rainwater sheds away from posts and slab edges. Leave 50 to 70 feet of clear turning space for combines and trailers, away from power lines and overhead branches, and keep the site within reach of existing electrical and water runs.
Grade the ground to slope downward at least 6 inches over the first 10 feet away from the building (a 3% to 5% grade), and dig shallow diversion swales on sloping ground to route hillside runoff around the pad instead of into it. On sites near natural waterways, the USDA NRCS Conservation Practice Standards outline the baseline drainage and heavy-use-area criteria worth checking before excavation starts.
Build primary access lanes 16 to 20 feet wide, with a 6-to-8-inch base of heavy breaker rock topped with 3 to 4 inches of compacted driveway stone, to hold up under combines, grain trucks, and everyday traffic. Trim overhead limbs to at least 16 feet of clearance so header extensions and grain augers clear safely.
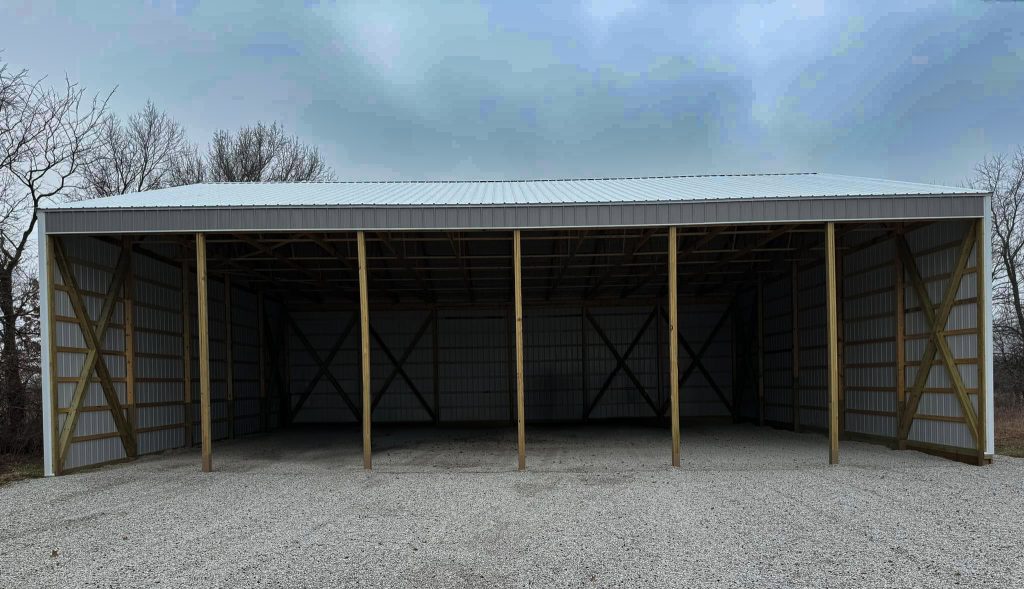
If you’re not sure whether your building plan is properly engineered for local wind and snow loads, a qualified Cedar County pole barn builder can review it before posts go in the ground.
There are three recurring construction mistakes that cause expensive rework and blown timelines:
What people do wrong: Building to a standard size instead of the equipment that actually has to fit and move inside it.
Why it’s a problem: A building that’s a few feet short on eave height or turning radius can leave a combine or grain cart unable to safely enter, unload, or turn around.
The right approach: Measure your largest equipment with attachments before finalizing bay width and eave height, not after.
What people do wrong: Using generic or undersized post spacing and truss specs instead of ones engineered for Missouri wind and snow loads.
Why it’s a problem: An under-engineered frame can sag, rack, or fail under a heavy snow load or straight-line wind, long after the crew has moved on.
The right approach: Confirm post spacing, embedment depth, and truss spec are engineered for your building size and county wind/snow requirements before framing starts.
What people do wrong: Hiring separate crews for excavation, framing, and roofing to save money upfront.
Why it’s a problem: Handoffs between crews create scheduling gaps, inconsistent workmanship, and no single point of accountability if something goes wrong.
The right approach: Work with a single in-house crew that carries the project from site consultation through trim, so nothing falls through the cracks before harvest.
Harvest prep tends to focus on machinery sheds and crop storage, but the same post-frame construction methods covered above — engineered posts, trusses, and metal roofing and siding — scale up well beyond ag buildings.
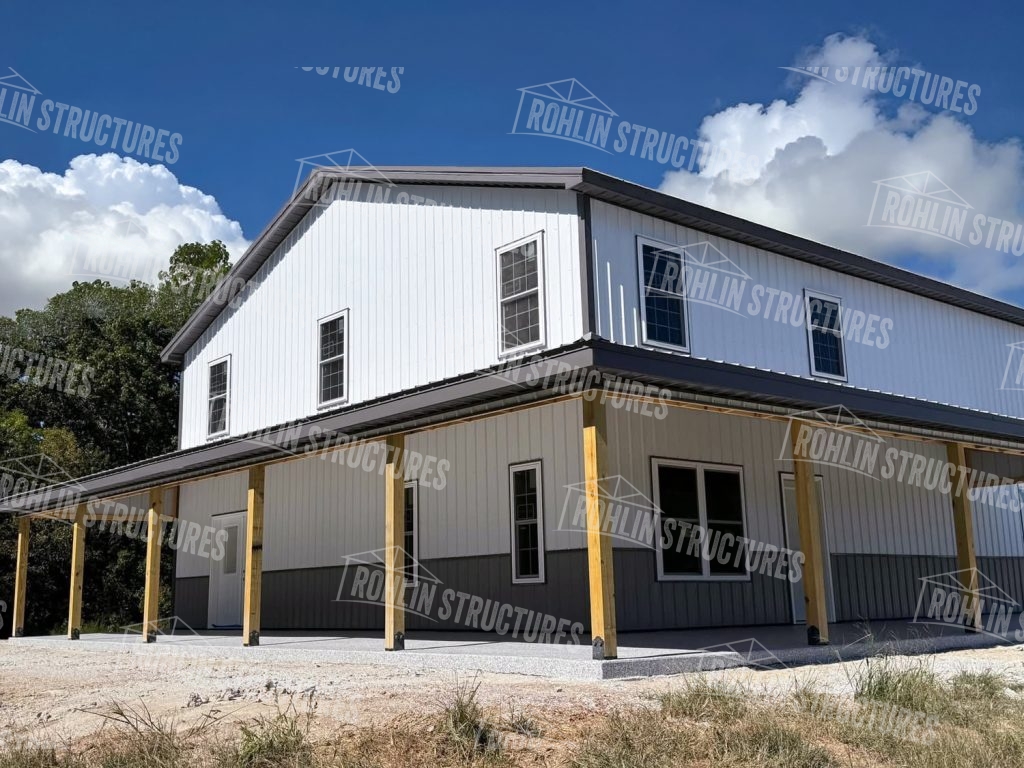
If your plans go beyond storage, Rohlin also builds barndominiums with the same in-house crew and the same durability standard, though a barndominium is framed differently than an ag post-frame shell (stud-framed with 2×4 exterior lathing rather than post-and-truss). We size the living space around how you actually plan to use it, combining a working shop or equipment bay with living space under one roof. Whether it’s a straightforward equipment cover or a full barndominium, the same crew carries the project from posts to finished trim.
Harvest timelines run on tight weather windows. When crops are mature or fall weather turns, delays caused by waiting on outside subcontractors can throw off your entire schedule.
“We don’t just build buildings; we build trust through every step of the process.”
At Rohlin Structures, we manage the whole build in-house, from the first site consultation and post setting through framing, roofing, and trim. In our experience, that’s what actually keeps a 2-to-4-month timeline from slipping. Read more about our in-house approach here.
Why Local In-House Teams Matter
Building a harvest-ready ag pole barn in Missouri comes down to three things: a realistic construction timeline, a building sized for your actual equipment, and site work finished before framing starts. Plan on 2 to 4 months from posts to a closed-in shell, and start site prep in late summer so nothing pushes your completion date into harvest season itself.
A local, in-house crew is what keeps that timeline honest — and it’s why buildings like these are built to serve Missouri farms for generations, not just decades.
Ready to plan your build before harvest? Contact Cedar County’s trusted Pole Barn Builder to schedule a site evaluation, or get a quote on our website today. Built Local. Built to Last.
Serving Cedar, Polk, St. Clair, Dade, Hickory, Barton, Vernon, Lawrence, Jasper, Greene, Dallas, and Benton Counties.
A standard ag pole barn typically takes 2 to 4 months from post setting to a finished, closed-in shell, depending on size, weather, and permitting. Contact us early in the summer to lock in a schedule that lands before harvest.
Cost depends heavily on size and features, but as a real example, a 4,000-square-foot, six-bay equipment cover building starts around $63,540. Smaller buildings cost less; add-ons like concrete, insulation, or perma-column posts add to the total.
Plan for at least 14 feet of eave height and 50 to 70 feet of open turning radius in front of the building. Most full-size combines and grain carts need bays in the 16-to-18-foot-wide range to maneuver without clipping a post.
In many rural areas of Cedar County, structures used strictly for farm storage or livestock qualify for agricultural exemptions. Electrical wiring, plumbing, or structures built near public roads usually require local verification, so check with your county planning office to confirm what applies before excavating. We’ll provide the stamped architectural and truss plans your permit application needs, but pulling the permit and getting county approval is on the property owner.
A standard building pad, such as a 40×60 or 50×80 footprint, typically takes 2 to 4 days of stripping, rock spreading, and compaction in fair weather. Plan on completing site prep about 2 weeks before framing starts so the pad has time to settle.
A base layer of 1-inch minus crushed limestone with fine dust works best. The fines bind the aggregate together when compacted, creating a dense, moisture-resistant pad that won’t shift under concrete trucks or heavy machinery.
Yes. Pouring concrete after the post-frame shell and roof are finished protects wet concrete from sudden Missouri rainstorms and direct sun, which produces a stronger, smoother finished floor.
Sources:


| Website By ZIMMERMAN | Privacy Policy